Create deployable packages in D365 fno
An AOT package is a deployment and compilation unit of one or more models that can be applied to an environment. It includes model metadata, binaries, reports and other associated resources. One or more AOT packages can be packaged into a deployable package, which is the vehicle used for deployment of code (and customizations) on demo, sandbox, and production environments. This topic guides you through the process of creating and applying a deployable package.
Overview of the process
In order to deploy your code and customizations to a runtime environment (demo, sandbox, or production), you must create deployable packages of your solution or implementation. Deployable packages can be created by using Visual Studio dev tools or by using the build automation process that is available on build environments. These deployable packages are referred to as Application Deployable Packages or AOT Deployable Packages. The following image shows an overview of the process. After a deployable package is created, it must be uploaded to the Lifecycle Services (LCS) project's asset library. An administrator can then go to the LCS environment page and apply the package to a runtime environment using the Maintain > Apply updates tool.
Note
Custom payment connector for Commerce needs to be packaged using a combined AOT deployable package. For more information, see Create payment packaging for Application Explorer in Service Fabric deployments.

Note
Application Deployable Packages do not contain source code.
It is always recommended to use a build environment to create deployable packages that are intended to go to production.
Create a deployable package
We recommend using a build environment to create deployable packages. You can also create a deployable package on a development environment.
On a development environment, after you have completed development and testing, follow these steps to create a deployable package in Visual Studio.
In Microsoft Visual Studio, select Dynamics 365 > Deploy > Create Deployment Package.

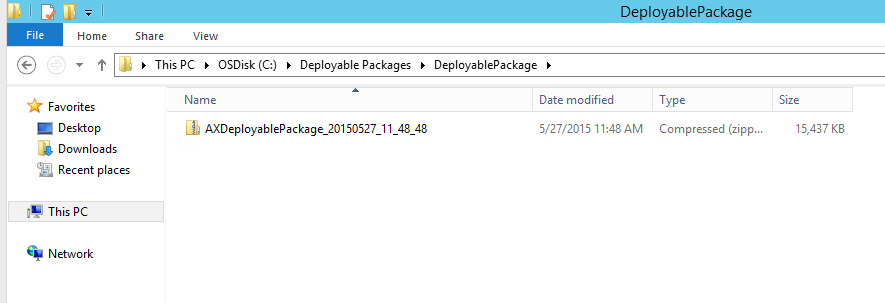
Select the packages that contain your models, and then select a location in which to create the deployable package.
After a deployable package is created, sign in to Lifecycle Services, and then, in your LCS project, click the Asset Library tile.
Upload the deployable package that you created earlier.
Apply a deployable package
To apply a deployable package to an environment, see Apply updates to cloud environments.
Remove a deployable package
To uninstall or remove a deployable package from an environment, see Uninstall a package.
Uninstall a package
- 2 minutes to read


Occasionally, you might have to uninstall a deployable package. For example, you might be reorganizing your source code. Alternatively, you no longer require an independent software vendor (ISV) product and haven't renewed the license. Therefore, you must remove the package.
Remove a model
A model is a design-time concept that is part of a package. When a model isn't the only model in a module, you can just remove it from the source code. No other steps are required, because when you deploy the updated module, the old module is overwritten. All overlayer models fall into this category. For more information, see Deleting a model.
Prerequisites
- If any models reference the module that will be removed, the references must be removed from them. For information about how to find the references that must be removed, see Viewing model dependencies.
- Build and deploy any modules that references were removed from.
- All references to and from the modules must be removed before you begin to uninstall the module. To remove all a module's references, add a single class to the model. This class should contain no code. It should contain only a reference to the application platform.
- A Microsoft module cannot be removed. If this is attempted, a validation error will be shown on the package in Lifecycle Services.
- A module cannot be removed if it is part of the AOT deployable package being installed. If you want to remove a module, be sure that it is not part of the package before adding the name to the ModuleToRemove.txt file.
Uninstall a package
- Create a file that is named ModuleToRemove.txt.
- In the file, put the name of each module that you want to remove on a separate line. Make sure that you've completed the prerequisites for each module that you're removing.
- Create a valid deployable package, and put the ModuleToRemove.txt file in the package\AOSService\Scripts folder.
- Upload the package to the Lifecycle Services asset library. Wait for the asset to finish validation, and review any warnings that are shown on the Asset Details panel on the right side of the page.
- Install the deployable package. For more information about how to install deployable packages, see Apply updates to cloud environments.
- Verify that the package was uninstalled before you complete this procedure in a production environment.


Thanks for sharing information.
ReplyDeleteD365 Ax Technical online training
D365 finance and operations online training