Create an approval request
In this unit, you'll learn how to build a business-friendly scenario that uses approvals.
In this scenario, anyone who has access to the Microsoft SharePoint list can contribute tweets without knowing anything about Twitter. The social media team can then approve or reject those tweets. Therefore, that team remains in control of the account and the content that goes out to customers.
Step one: Create a SharePoint list for tweets
You'll use a template that starts an approval process whenever a new item is created in a specific list. If the item is approved, a tweet is posted to Twitter. For this unit, you'll change the process by adding steps that update a SharePoint list with the approval response, indicate whether the item was approved, and add any comments that the approver added to the proposed tweet.
First, let's create the SharePoint list.
On your SharePoint site, create a SharePoint list named ContosoTweets.
Open the list, and select Add column.
Select + Add column to add the following columns. Select Save after you create each column.
Add a column of the Multiple lines of text type that's named TweetContent. This column will hold the content of the tweets that will be approved later.
Add a column of the Date and Time type that's named TweetDate. To select the Date and Time type, select More.
Add a column of the Yes/No type that's named ApprovalStatus. The approver can then select Yes or No to approve or reject the tweet.
Add a column of the Single line of text type that's named ApproverComments. The approver can then add a comment about the approval status.

Copy the URL of the SharePoint list. You'll use it when you create the flow.
Step two: Create an approval request flow
Sign in to Power Automate, and then select Approvals.
Select Create approval flow, and then scroll down and select the Post list items to Twitter after approval template.

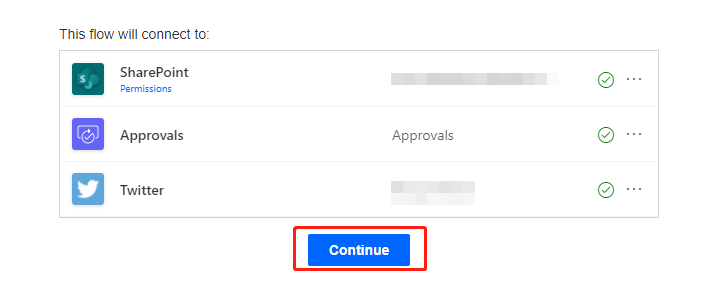
Make sure that your account credentials for SharePoint, Approvals, and Twitter are correct, and then select Continue.
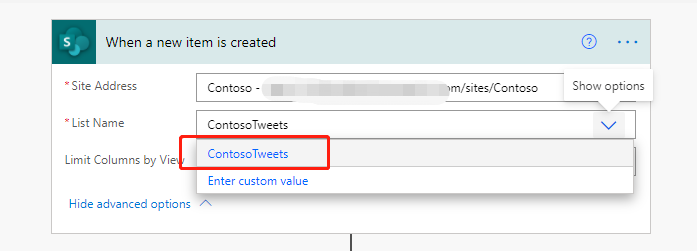
Back in Microsoft Flow, in the When a new item is created action, enter the following values:
Site Address: Enter the URL of your team's SharePoint site.
List Name: Select ContosoTweets.
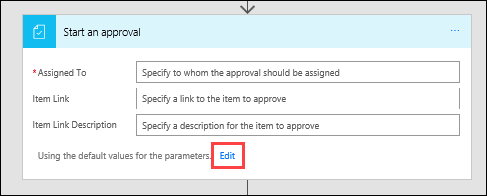
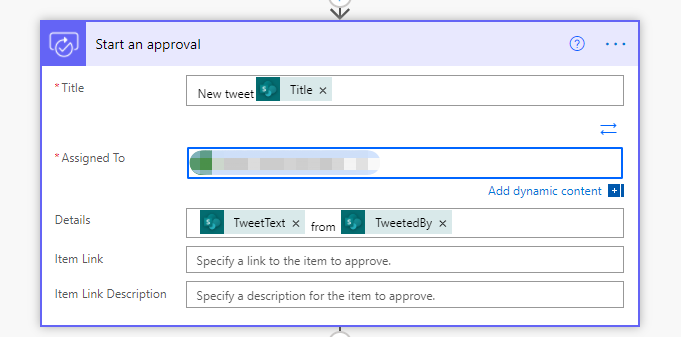
In the Start an approval action, select Edit to show all the fields.
In the Title field, enter New tweet for, and then select Title in the dynamic content list.
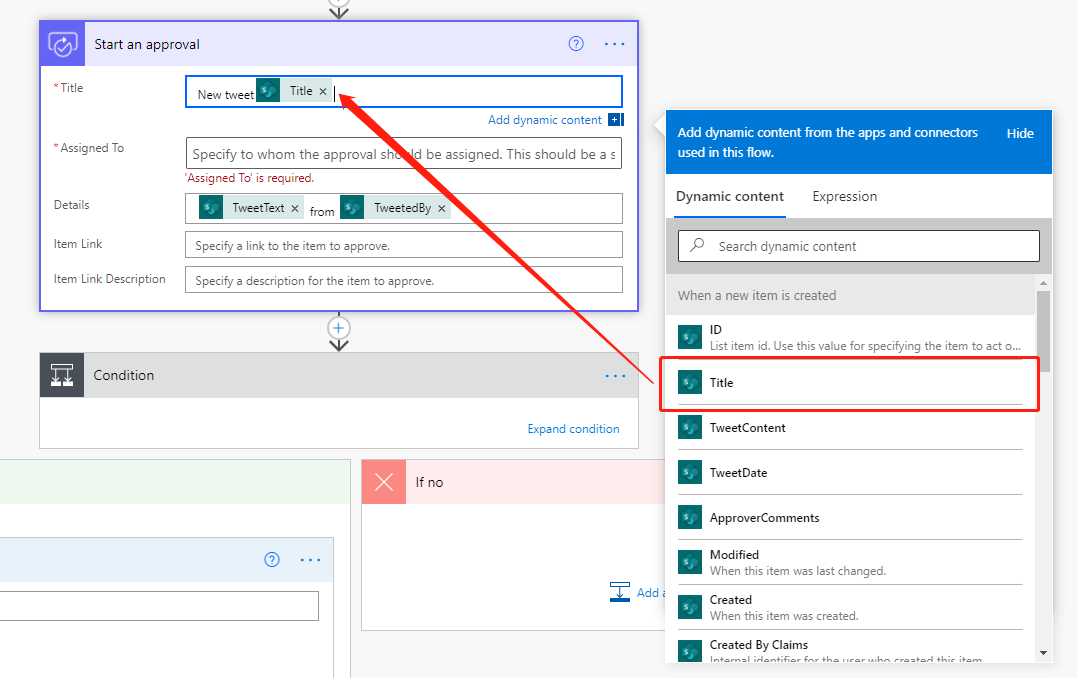
In the Assigned to field, enter and select either your name or the name of a test user.
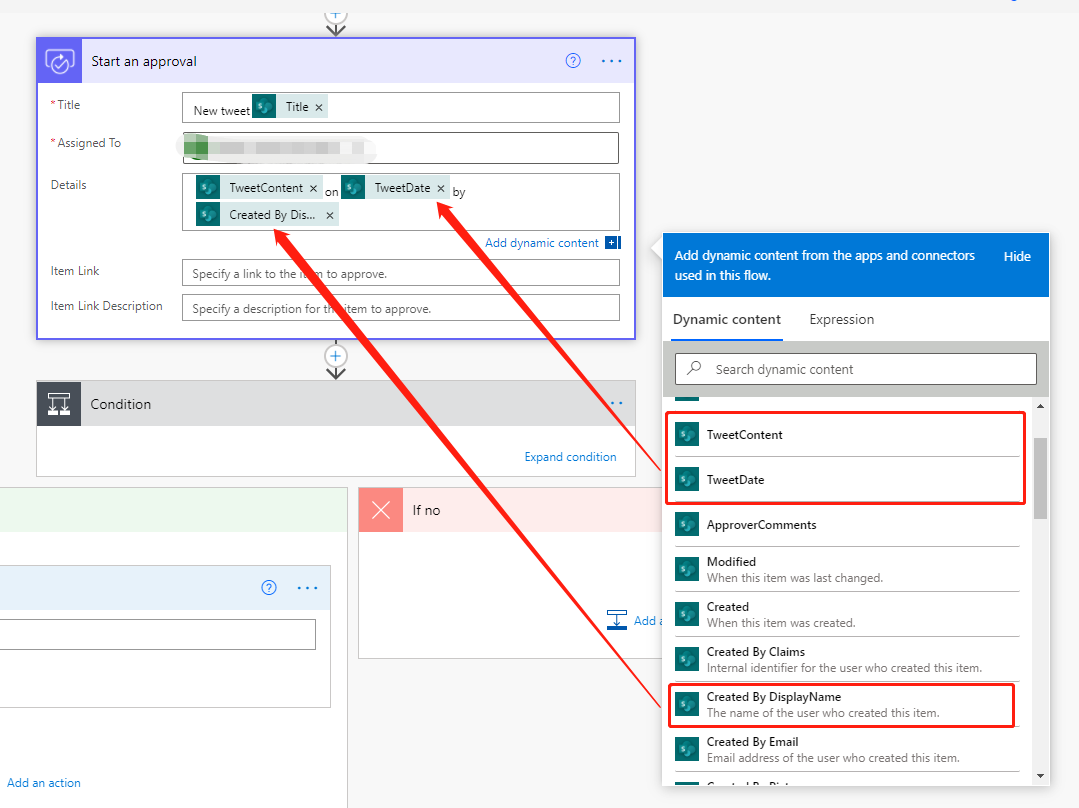
In the Details field, remove the default items, and add TweetContent, TweetDate, and Created by DisplayName from the dynamic content list. Add the words on and by to make the content more readable, as shown here.
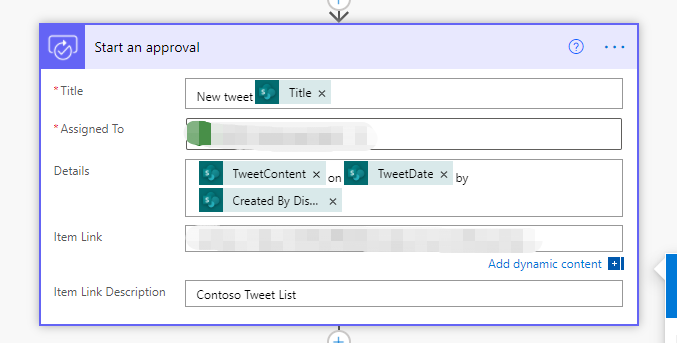
In the Item Link field, paste the URL of your SharePoint list, which you copied in the previous procedure. In the Item Link Description field, enter Contoso Tweet List.
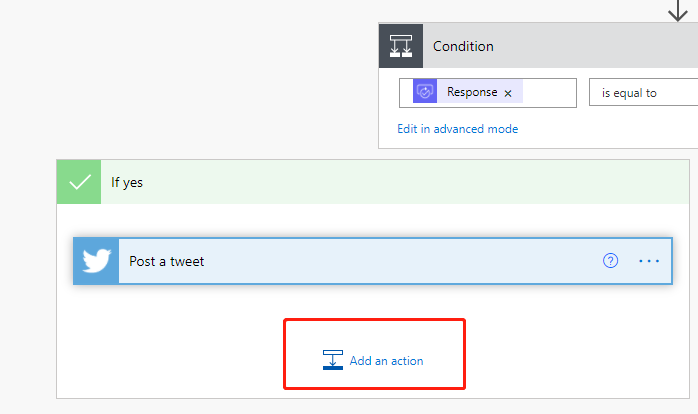
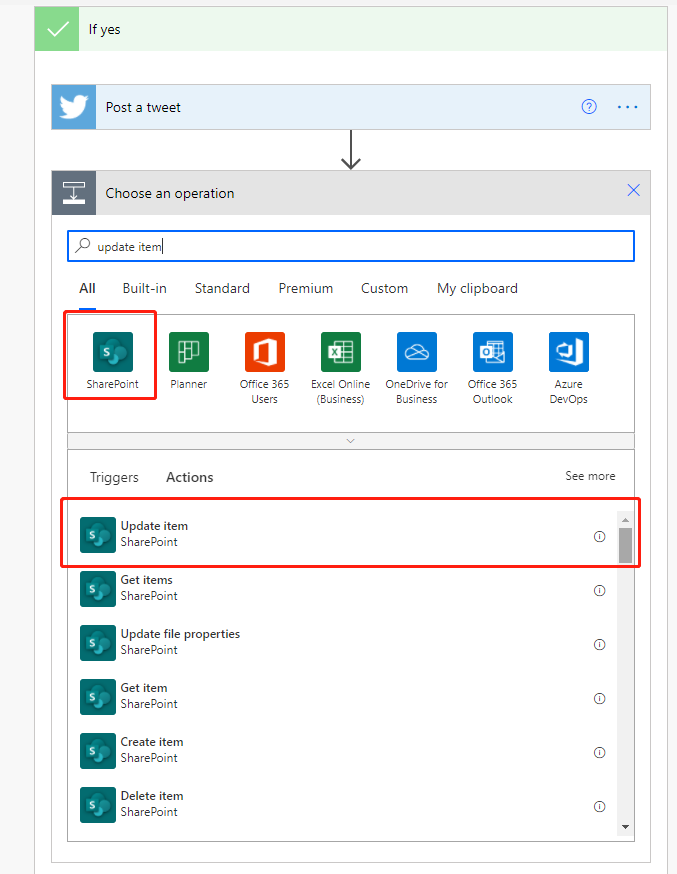
In the Condition action, hover over the IF YES box, select the plus sign (+), and then select Add an action.
Search for update item, select the SharePoint connector, and then select the SharePoint – Update item action.
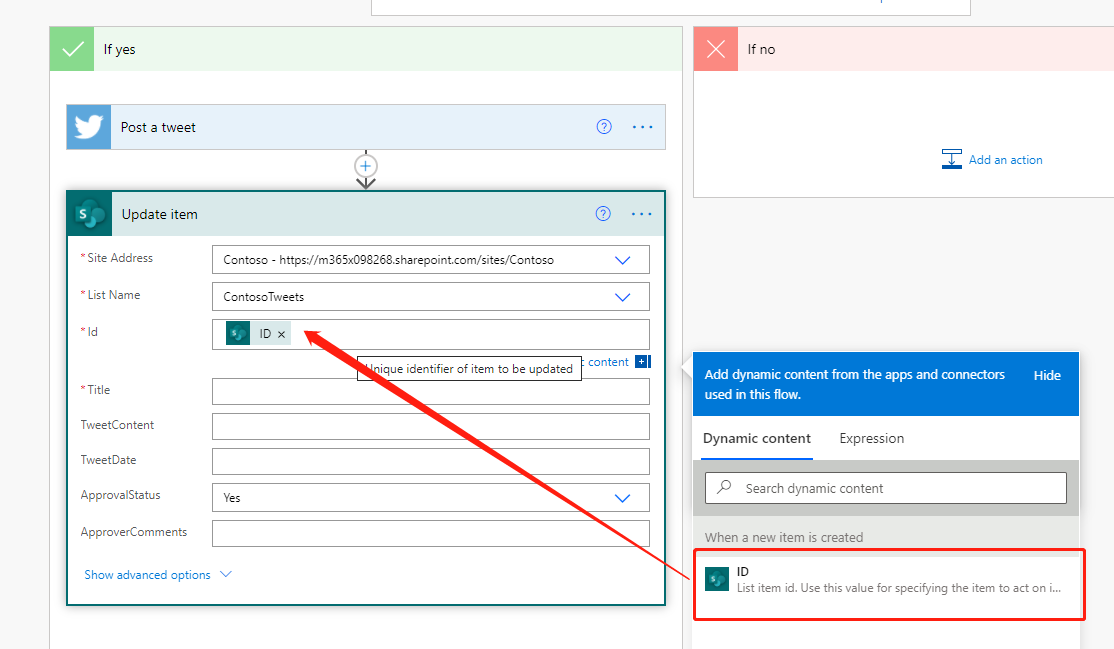
In the Site Address, enter the URL of the team's SharePoint site again. In the List Name field, select ContosoTweets again. In the Id field, add ID from the dynamic content list. The Id field is used to match the actual tweet request in the SharePoint list.
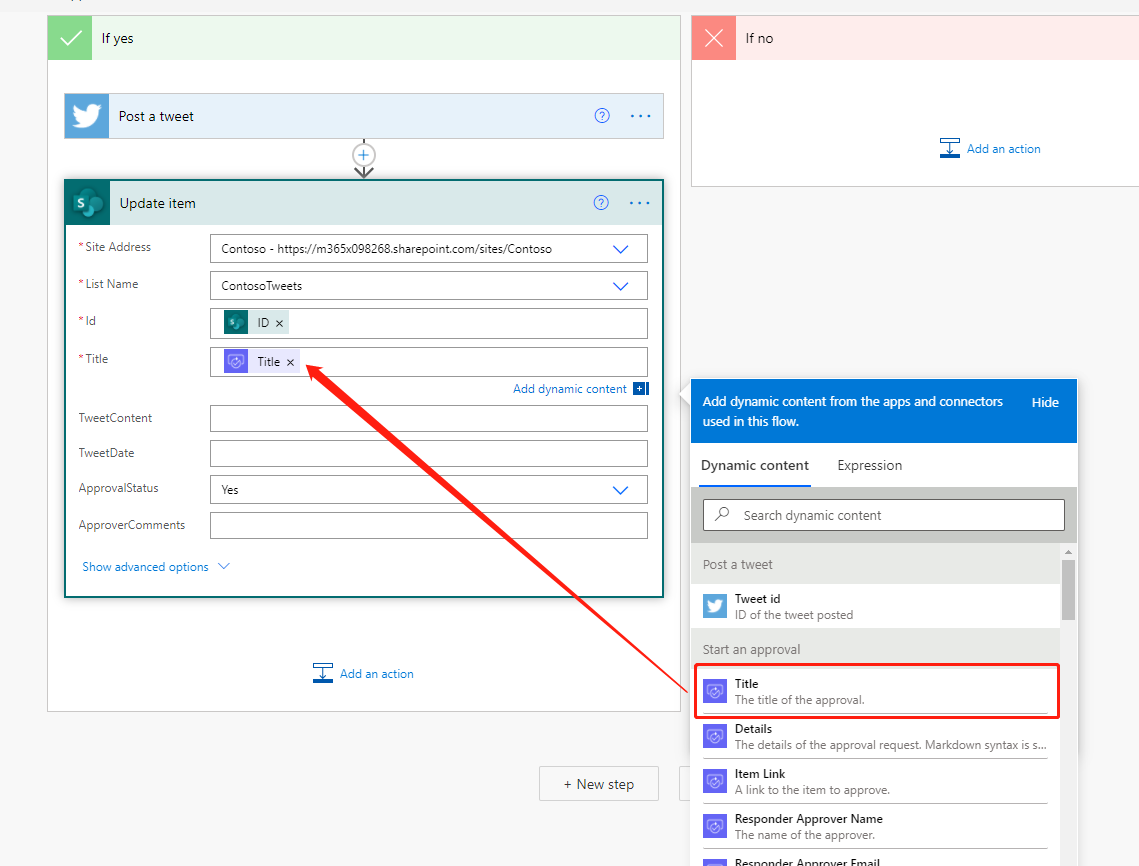
Select the Title field, and then, in the dynamic content list, search for title. Add Title from the When a new item is created action.
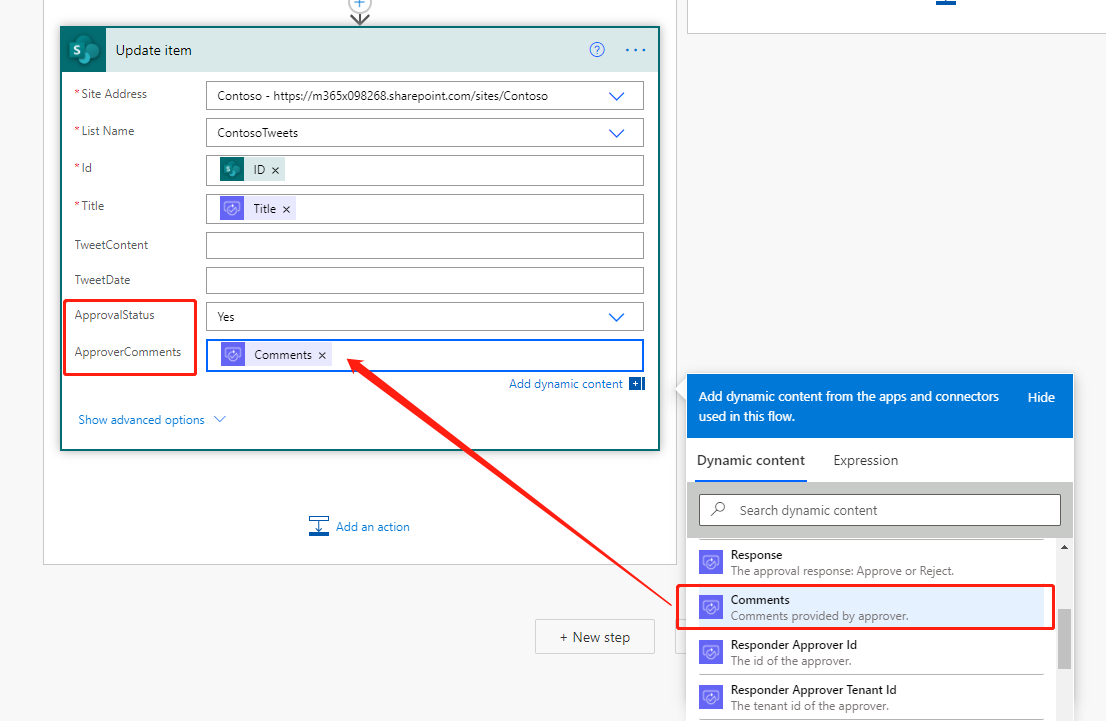
In the ApprovalStatus field, select Yes. Then select the ApproverComments field, and add Comments from the dynamic content list.
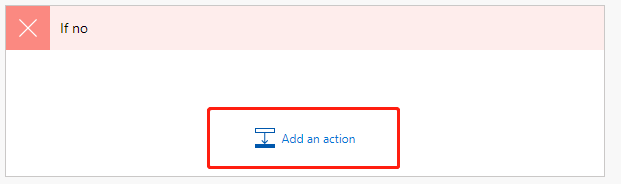
Near the bottom of the IF NO, DO NOTHING box, select Add an action.
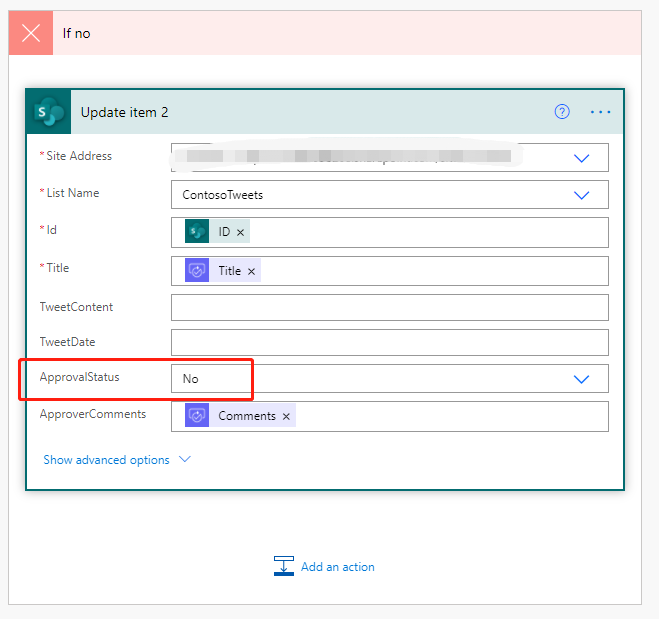
Repeat steps 11 through 14 to create a SharePoint – Update item action. Set the same values that you set for the IF YES condition. The only difference is that you set the ApprovalStatus field to No this time.
Select the Post a tweet action, and select Edit. Then select the Tweet text field, and add TweetContent from the dynamic content list. This step will create the actual tweet and then post it to Twitter when it's approved.
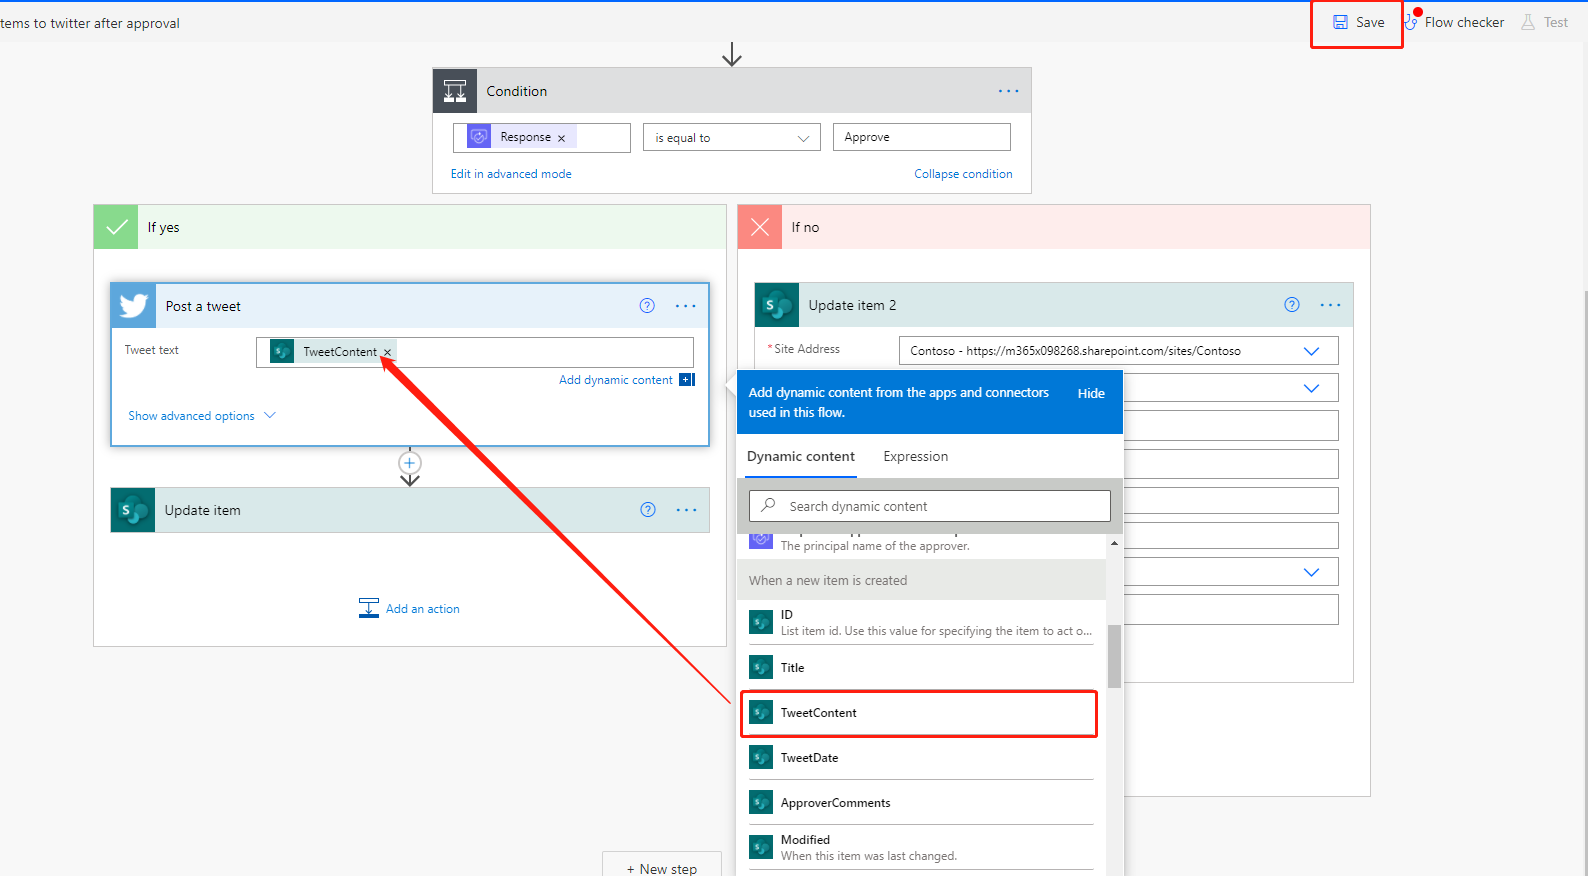
Select Save.
Congratulations! You just created your first approval flow.
This unit showed another way that Power Automate can empower your team to be more productive. Your team can contribute ideas, relevant news, or product guidance, but you maintain control over what's tweeted out to customers.
Use the approval center
Power Automate helps users to manage their approvals through the approval center. Choose Approvals under Actions on the left-hand menu. Here you will be able to see any approvals you have sent or received and your approval history. Click on the item you just sent to see the details. As you can see, Power Automate displays the details of the request including the requestor, approver, and outcome. You can approve or reject requests directly in your email, or you can come to the approval center and do so directly. Test out the approval center by sending off a few more requests and coming back to explore its functionality.
Export the flow
Now that you have built a flow, you can also export the flow. When exporting a flow, you can either export to a package or a Logic Apps template. Both options are available from the flow details page.
When you export to a package you can then send the resulting zip file to a co-worker in the same tenant to import or to someone in another tenant. The wizard will then walk them through importing the package and connecting it to their specific data sources.
When you export to a Logic Apps template, you can go to Azure Logic Apps and import the template. Logic Apps can then be used to run the logic you created in the flow or can be used to extend the logic using Azure Logic Apps specific functionality. Azure Logic Apps is the engine that Power Automate flows are built upon. You can read more about exporting your flows to Logic Apps here: /azure/logic-apps/export-from-microsoft-flow-logic-app-template


No comments:
Post a Comment