HOW TO CREATE COUNTING JOURNAL IN D365
Counting Journal is used to determine the actual quantity in inventory by adjusting the actual physical quantity in the warehouse with the Onhand inventory in the system.
So the system might have an Onhand qty as 10 pcs but the actual physical qty available in the warehouse might be only 9 pcs which is entered in the couting field.
On Posting the system will adjust the difference in quantity in Dynamics 365 is posted as item issue or receipt.
If Onhand qty > physical qty
then inventory issue and inventory loss accounts will be updated and the inventory transaction will have status as Sold after posting.
If Onhand qty < physical qty
then inventory receipt and inventory profit accounts will be updated and the inventory transaction will have status as Purchased after posting.
Steps to create a counting Journal :
Navigate to
1) Inventory management> Journal entries> Item counting> Counting.

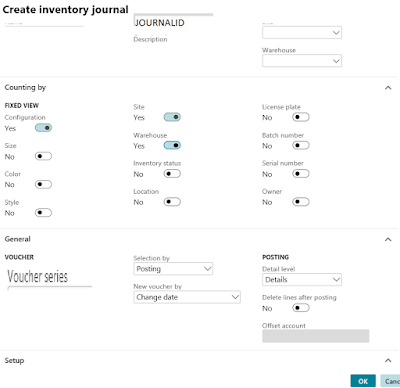
2) Click on New button to create the header. Input the site and warehouse and click ok.
of the counting journal.
3) Once the header is created you can create the counting journal lines by specifying the
counting Date, item number, site, warehouse, etc.
The counted quantity has to be entered in the column Counted.
On-hand shows the corresponding inventory quantity in Dynamics 365 as of the counting date. The difference between the counted and the on-hand quantity is displayed in the column Quantity.
Once created you can validate and post it.
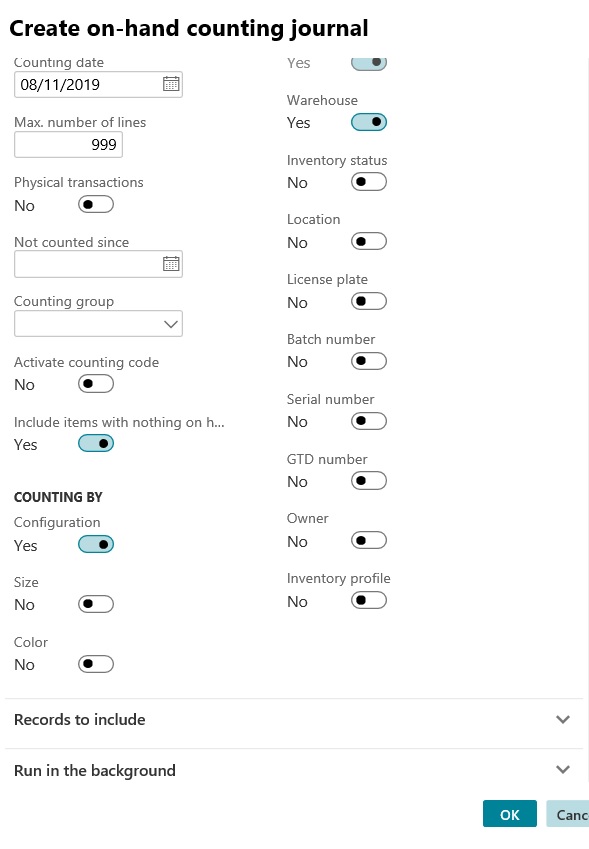
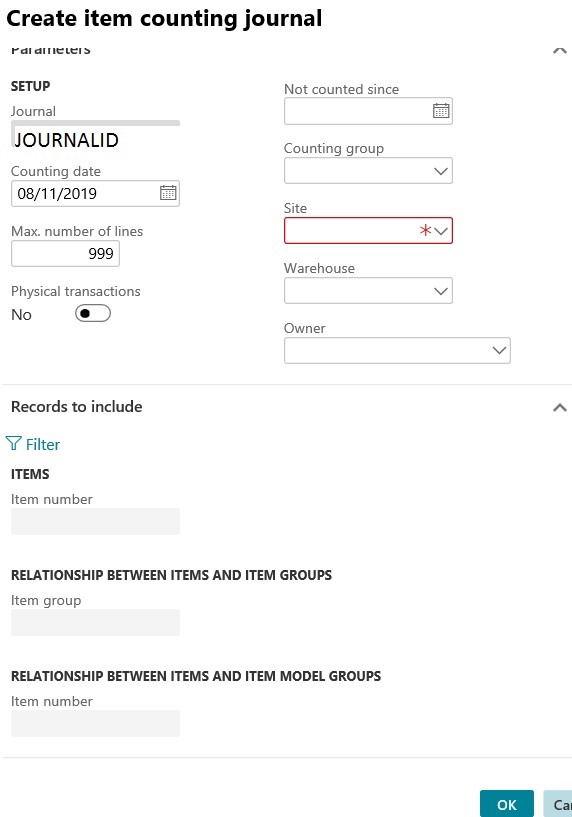
However there are other ways also to create the counting lines by clicking the Create Lines button as shown below. Each of the options has a filter which can be used to further filter down the number of items required for counting journal.

Onhand - > will create lines of items having onhand greater then zero.

Item - > Will create all the items having onstock value zero or non -zero.

Expired batch - > creates journal lines only for those items with an expired batch date. This enables warehouse staff to count only those items with expired batches so that these items can be removed from inventory.
Once all the lines are created they can be validated and then Posted to to adjust the On-hand quantity as per the actual physical quantity in the system.
xxxxxxxxxxxxxxxxxxxxxxxxxxxxxxxxxxxxxxxxxxxxxxxxxxxxxxxxxxxxxxxxxxxxxx
Count inventory in a warehouse
This
topic describes the process of creating and posting an inventory counting
journal in order to count a specific item at a location in the warehouse. The
procedure applies to "basic warehousing" functionality, available in
the Inventory management module, not to the warehousing functionality that's
available in the Warehouse management module. You can walk through this
procedure in demo data company USMF, or using your own data. If you're using
your own data, make sure that you have products and locations set up, and that
you've created an inventory journal name for counting journals. Inventory
counting is normally carried out by a warehouse employee.
Create an inventory counting journal
1.
Go to Navigation pane > Modules >
Inventory management > Journal entries > Item counting > Counting.
2.
Select New.
3.
In the Name field,
select the inventory counting journal name you want to use from the drop-down
list. Some other fields will be populated based on the setup of the inventory
counting journal name that you select.
4.
In the Worker field,
select the drop-down button to open the lookup.
5.
In the list, Select the worker
you want to use.
6.
Select OK.
Create journal lines
1.
Select New.
2.
In the Item number field,
select the desired record from the drop-down list. If you are using demo data
company USMF, select A0001.
3.
In the Site field,
select the desired record from the drop-down list. If you are using demo data
company USMF, select site 2.
4.
In the Warehouse field,
select the desired record from the drop-down list. If you are using demo data
company USMF, select warehouse 24.
5.
In the Location field,
select the desired record from the drop-down list. If you are using demo data
company USMF, select location BULK-001.
6.
In the Counted field, enter a number. If you enter a counted
number that's different to the number shown in the On-hand field, the Quantity field is updated to show
the discrepancy.
7.
Select Save.
Post the inventory counting journal
1.
Select Post. When you post
an inventory counting journal, if the counted amount differs from amount that's
reported in the On-hand field an
inventory receipt or issue is posted, the inventory level and value are
changed, and ledger transactions are generated.
2.
Select OK.
View inventory transactions
1.
Select Inventory.
2.
Select Transactions. Here
you can see any related transactions that will be created when you post your
inventory counting journal.
thanks,
Vikas Mehta.


